As with the VMware Data Recovery 1.2.1 installation post I wrote a while back, there isn’t going to be anything special about a pure vanilla install of VMware’s Data Recovery backup solution for SMB sized organizations that need an easy to use backup solution for their VMware infrastructure. I’ve always liked this application aside from the quiesce/snapshot issues when backing up vCenter because of the Active Directory Lightweight Directory Services role (this was back in the vSphere 4.0 days) but the newer releases have fixed it. Since I had to recently upgrade a new VDR 2.0 appliance and documented, I thought I’d write this quick post just to show what the install looks like.
Load up the ISO and you’ll see the following installer. Simply click on the Data Recovery Client Plug-In link and the install will proceed:
The installation of the plug-in is simply 3 to 4 screens so I’m not going to bother with the screenshot for those and just continue right after the plug-in has installed. Once the plug-in has been installed, proceed with opening up the Plug-In Manager to double check that it is now listed with the status of Enabled. Once that’s confirmed, open up the installer splash screen and click on Explore media (for Appliance and Restore Clients) and look for a folder named VMwareDataRecovery-ovf-x86_64:
Within this folder, you’ll find an ovf file named VMwareDataRecovery_OVF10.ovf which will be the file you’ll be using to deploy the appliance:
With your vSphere Client connected to vCenter, select File –> Deploy OVF Template…:
Follow through the wizard while filling in the appropriate fields:
The default name for the appliance within vCenter is VMware Data Recovery and while it’s perfectly find to use this name since it’s just a name in vCenter, I always prefer to use the same name as the name the other servers reference it as:
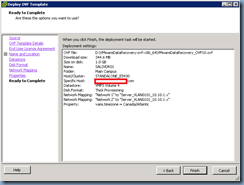
It doesn’t really matter whether you chose thick or thin provision but since the estimated disk size for thick provisioning the appliance is only 5.0GB, I prefer to just thick provision it:
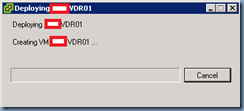
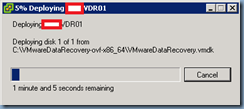
Once you select Finish on the next screen, the deployment of the appliance will begin:
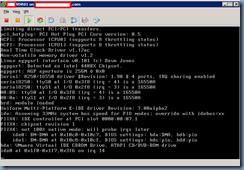
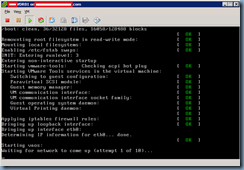
Once the appliance has been deployed, proceed with powering it up and open up the console:
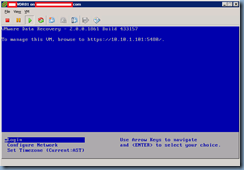
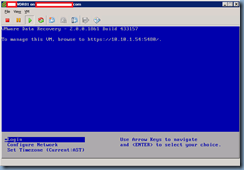
Once the operating system boots up, you’ll see a screen similar to the following. Proceed with selecting the Configure Network option:
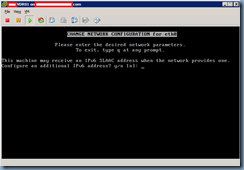
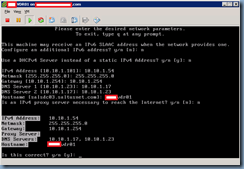
Proceed with configuring the network properties of the appliance:
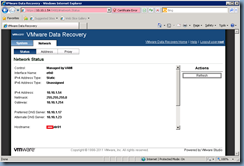
Once the settings have been configured and saved, you’ll see a screen similar to the following:
At this point, you can navigate to the IP address listed above to manage the appliance. Note that managing the appliance through the IP address allows you to modify the settings you’ve just configured so it’s not really necessary to do so but just so I can demonstrate what it looks like, I’ll include the following screenshots:
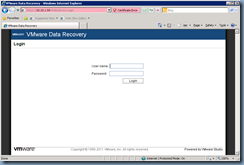
Note that you can’t use http:// to access the management web interface:
Note that the default username and password is: root / vmw@re
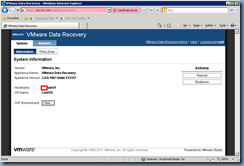
You’ll see the following options once you’ve successfully logged in:
… and that’s it.



1 comment:
Thanks, for this useful post. VMware Data Recovery provides a centralized management interface to enable backup and recovery of your VMs directly through VMware vCenter Server. The entire inventory of VMs is automatically, identified through VMware vCenter Server. Uses an intuitive wizard driven workflow to create, configure and schedule backup jobs. Multiple restore points, for each VM are displayed to easily select a specific point, in time copy to restore. VMware Data Recovery utilizes built in data de-duplication technology to save significant disk space. The technology eliminates duplicate storage blocks, as your backup data is streamed to disk.
Post a Comment